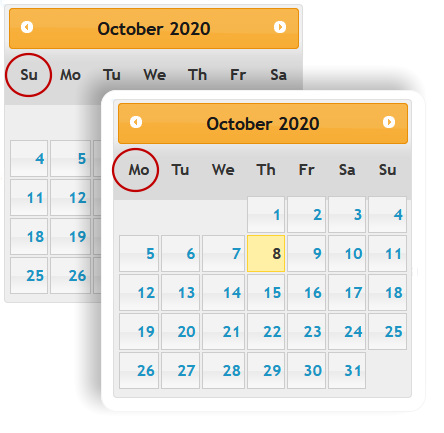
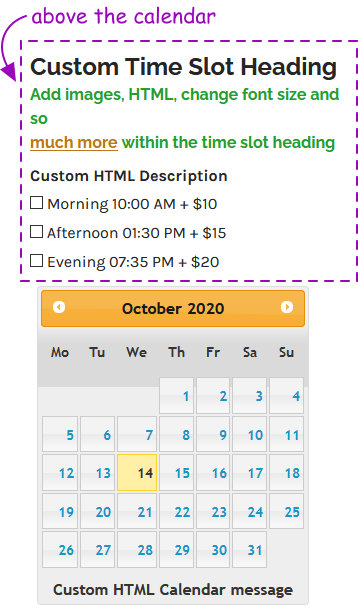
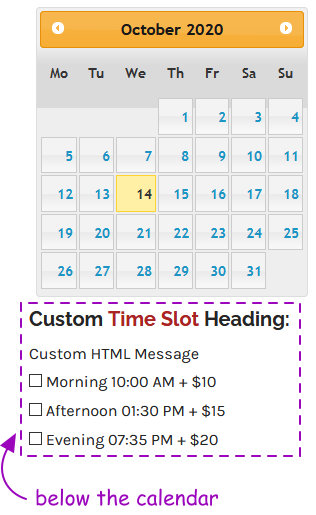
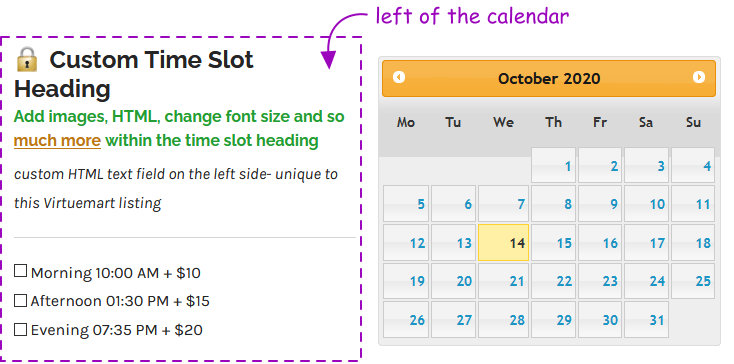
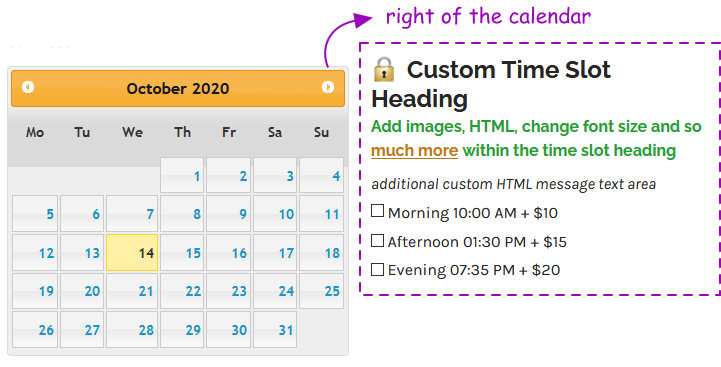
Reminder: all these settings can be configured as default options or tweaked individually when applying the custom field to your Virtuemart listing.
If you set this option in the custom field’s default setting it will automatically be applied when you add the field to a Virtuemart product listing. You can also change this option independently for each Virtuemart listing without it influencing any other listing because the calendar date plugin operates as a Virtuemart custom field.
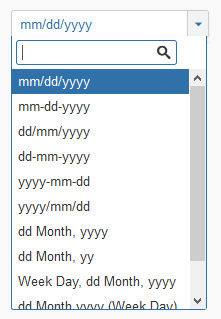
There are 11 possible formatted and displayed date combinations to allow you to present a date in the way that makes sense for your market. The formatted date style can be set as a default setting so you do not have to keep adjusting the layout every time you add the custom date field to a Virtuemart listing.
If you change a date style in a listing the changes will ONLY impact that listing as each Virtuemart listing operates independently.
The formatted date style will carry over onto the shopping cart and buyer receipts.
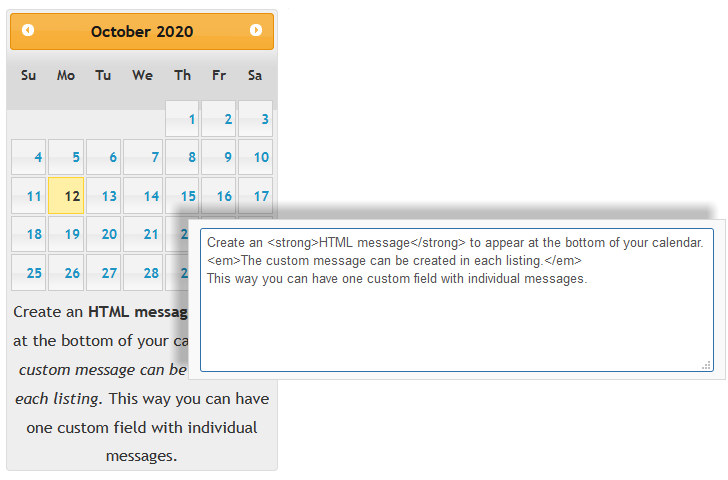
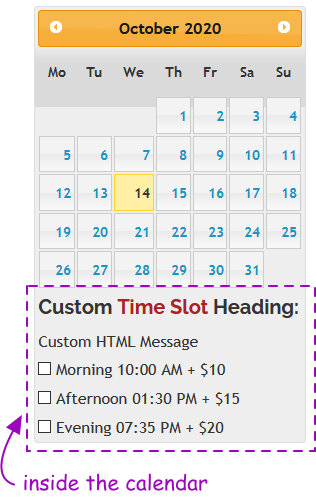
You can include a custom message in HTML or plain text under each calendar. If you are not fluent in HTML simply use your WYSIWYG text editor and then copy the HTML code into the message block. You can set a default message by entering your message in the custom field setup. Or, alter the message directly when you assign it to a Virtuemart product listing.
Note: The majority of users who use this calendar date plugin will only have need to incorporate one calendar date field per product entry. If you assign more than one calendar to a product it will default to displaying the last calendar date field.
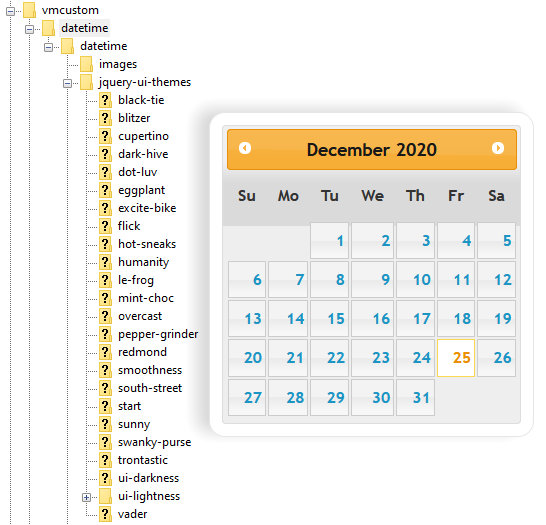
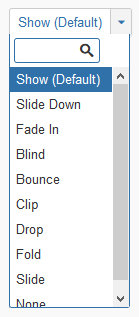
25 very different calendar skins or themes have been preloaded and can be changed as quickly as clicking on an option from the drop down.
With a bit of creatively you can take a theme that closely matches your website style and tweak the coding for a stronger, customized and polished feel for your website.
Our favorite is:
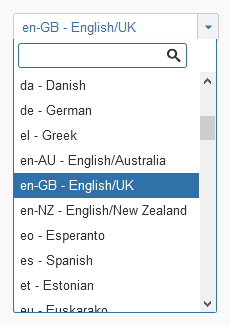
You can change the language on the calendar into 68 different languages. Simply choose your local language from the drop down field when you create your custom Calendar Field in Virtuemart. You can also change the language setting in each Virtuemart listing when you assign the Calendar Field to a product listing.
Please Note: if you assign individual languages to different Virtuemart listing and then view the listings in the category layout; Virtuemart will use the last selected language from the list of product listings. However, when you go into the listing/ product details it will display the correct language choice for that Virtuemart listing. Example.
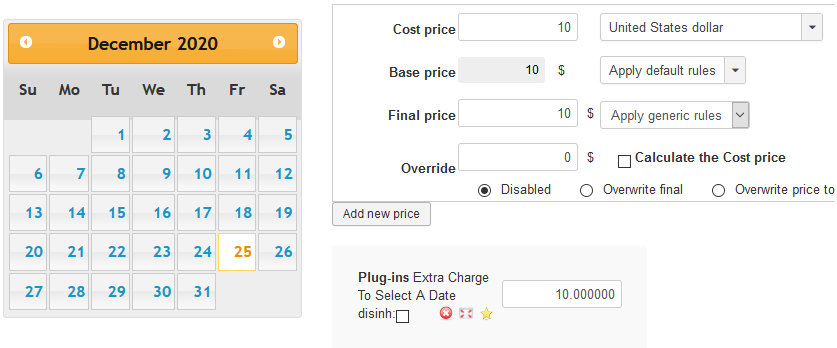
Note: you cannot assign a specific value for individual dates. It is just one additional fee for selecting any date.
If you would like to use an icon to open your calendar, use this option. If you mark this field as Yes it will disable the clickable calendar date field forcing you to click on the icon.
You can change the icon graphic by uploading your own icon image into the plugin folder:
(/plugins/vmcustom/datetime/datetime/images/calendar-icon.png)
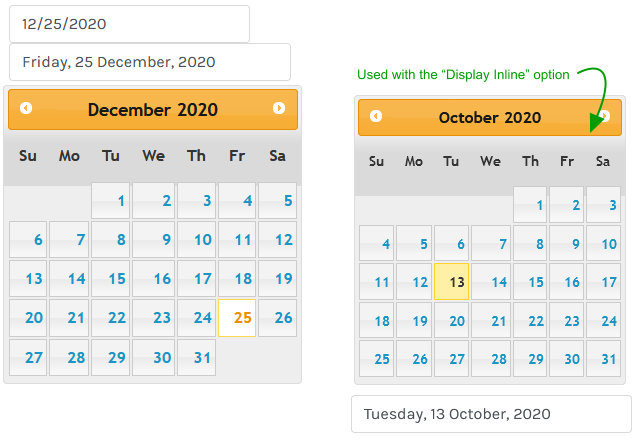
This function creates another date field to fill-in (populate) a date when selecting a date on the calendar. It works well when combing this with the “Display Inline” field option.
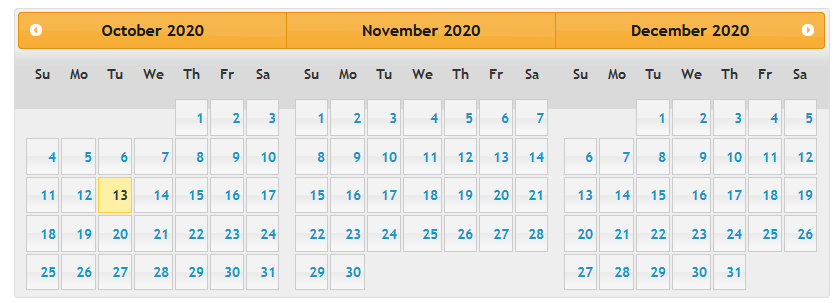
By default, only a one month calendar will be displayed when a user selects a date. You can change this by entering a number (1, 2, 3, etc) in the field option called “Multiple Months”. You can display as many months as you would like but at some point multiple months will result in a less attractive display.
Example: If you enter 3 and the current is January 1, then the earliest date the user will be able to select would be January 4
This is a great feature and offers a lot of practical real-world applications. The earliest date is a number you assign to block the number of days after ‘todays’ date to prevent the user from selecting a date as a valid option.
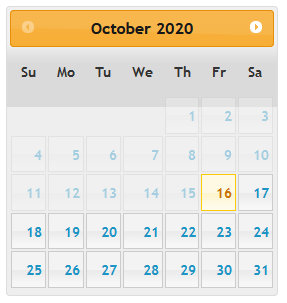
The example on the left:
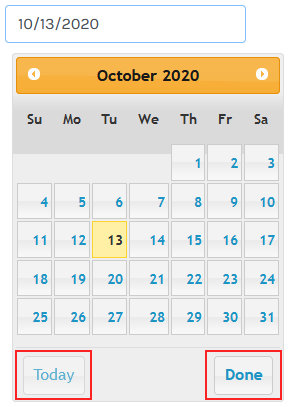
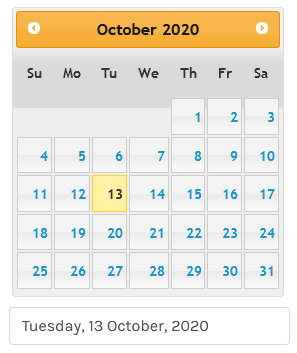
Today was October 13, 2020.
Entered the number 3 as the earliest date option.
This means that 3 days are going to be blocked from the current date making October 16 the earlient date that can be selected on the calendar.
English text day. Separated with a comma (NO blank space)
Example: monday,tuesday,wednesday,thursday,friday,saturday,sunday
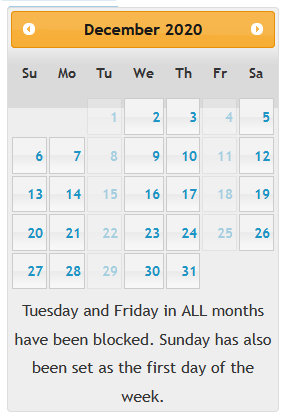
If you need to block certain days in the week (Monday, Tuesday, Wednesday, etc) across the entire year from being selected as a valid date options then this feature will be incredibly useful.
In the example: Tuesday and Friday have been blocked for the entire year.
Separated with a comma (NO blank space)
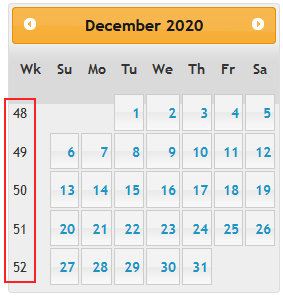
Week numbers (1 to 53) of the year
Example: 52,53
If you need to block out entire weeks at a time you can also do that with this Virtuemart Calendar Date plugin. Simply enter the week number you would like to block. This applies to individual Virtuemart listings because this plugin is a custom field within VirtueMart.
Separated with a comma (NO blank space)
Month Numbers (1 to 12) of the year
Example: 3,10
Multiple variations can be used at the same time to block days and display calendar styling options. If you need to block out an entire month you can achieve this by simply entering a number for the month you would like to block. Example: January = 1, February = 2, etc.
Date Format: dd/mm/yyyy
Example: 03/01/2020,25/12/2020
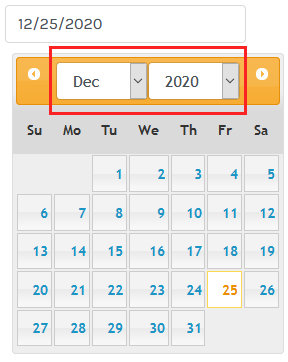
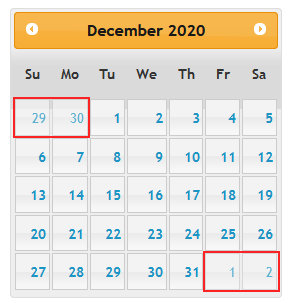
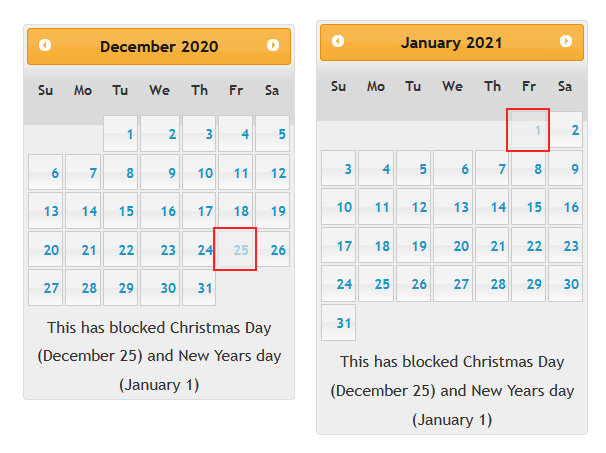
One of the great features of the Calendar Date plugin for Virtuemart is the ability to block out days. In particular, the advantage to block specific dates is incredibly useful. In the example Christmas (December 25) has been block as an invalid date option. The date HAS TO be written as dd/mm/yyyy.
If at first, the date is not being blocked, check the format and correct the date sequence.
Date Format: dd/mm/yyyy-dd/mm/yyyy
Example: 03/01/2020-10/01/2020,25/12/2020-01/01/2021
You can block out MULTIPLE date ranges instead of entering concurrent dates.
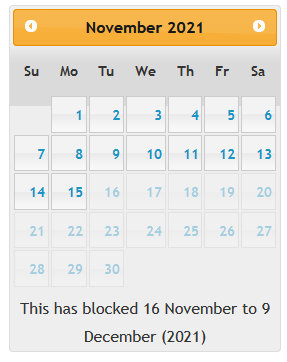
A date range HAS TO be written as dd/mm/yyyy- dd/mm/yyyy. You can separate multiple date ranges by using a comma (,) In the example the date range is 16/11/2021-09/12/2021. Meaning, from November 16 to December 9 no dates can be selected.
Separated with a comma (NO blank space)
Single Day: dd/mm/yyyy | Date Range: dd/mm/yyyy-dd/mm/yyyy
Example: 03/01/2020-10/01/2020,12/01/2020,25/12/2020
If you have a small range of applicable dates or date ranges you can use this blocking option to prevent a buyer from being able to choose the incorrect date. This option will block every date in the calendar year EXCEPT for the dates you specify. This setting can be customized for each individual Virtuemart listing.
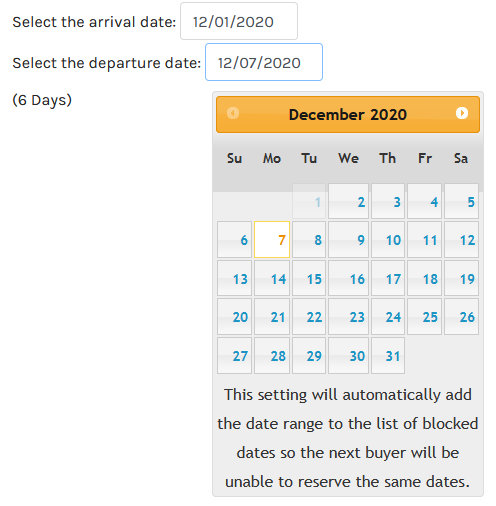
When you activate the reservation function in the custom field, it will create 2 calendar text blocks on the frontend of your website. You will still be able to create an independent style for the calendar. The first date will be the starting/ arrival date and the second date will be the end / departure date.
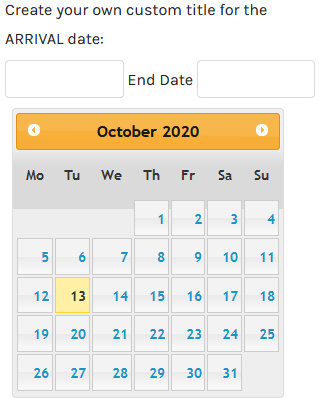
You can customize the titles of these fields.
If you plan on using the reservation system for your bed and breakfast, inn or hotel you may decide to create a separate listing for each room. If you do this you would, naturally, need to allow potential guests to reserve a date range and then make sure their dates are NOT available for the next guest. This is what this option does. It automatically blocks the date range when the guest checks out. You will be able to see and easily edit, if necessary, the date ranges directly in the associated room listing.
Depending on your purpose for using the Calendar Date picker with Reservation capabilities, you may need to allow a buyer to communicate a date range but not block the date range. To achieve this, simply mark this option as NO.
A reservation or booking period deals with a start and end date. There may be a situation where you need to NOT have the start date be part of the calculated date range. If you mark this option as Yes, it means you would like to have the first date count toward the total days and the total amount charged.
A reservation or booking period deals with a start and end date. There may be a situation where you need to NOT have the end date be part of the blocked date range. If you mark this option as NO, it means you do not want to have the last date count toward the total days and the total amount charged. A good example would be a hotel: your guests will put in the day they are leaving but you do not typically charge a fee for the day they leave.
If you would prefer to use another identifying label for the start date other than "Start Date" you can enter a title into the text block. You can change this on every Virtuemart listing independently.
You can create one calendar field and then alter it according to the requirements of the individual Virtuemart listing.
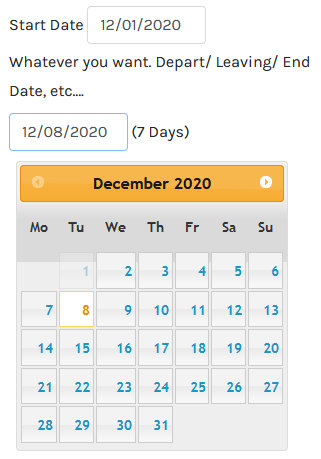
If you would prefer to use another identifying label for the end date other than "End Date" you can enter a title into the text block. You can change this on every Virtuemart listing independently.
You can create one calendar field and then alter it according to the requirements of the individual Virtuemart listing.
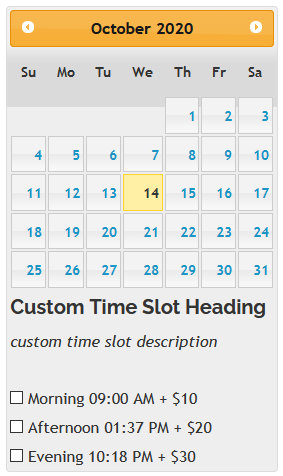
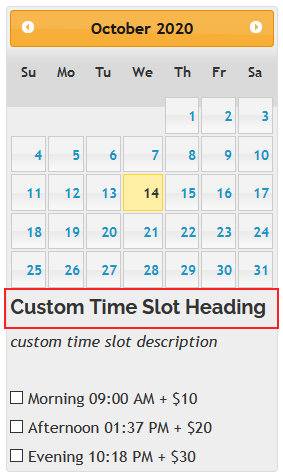
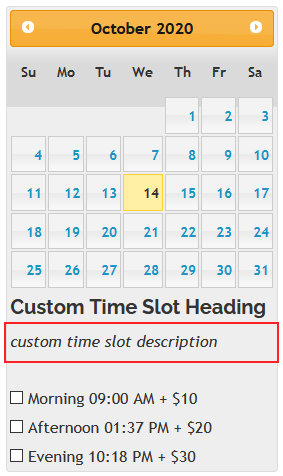
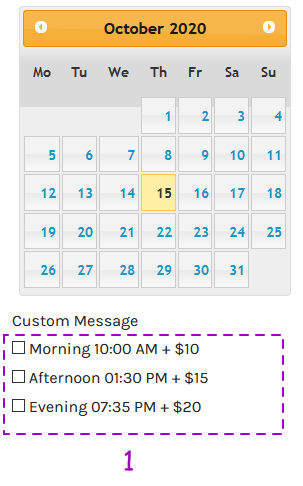
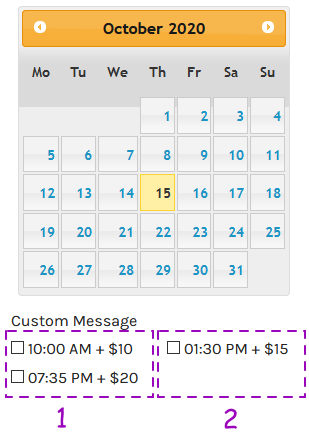
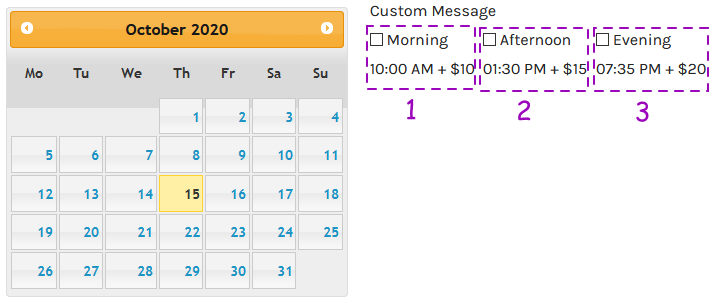
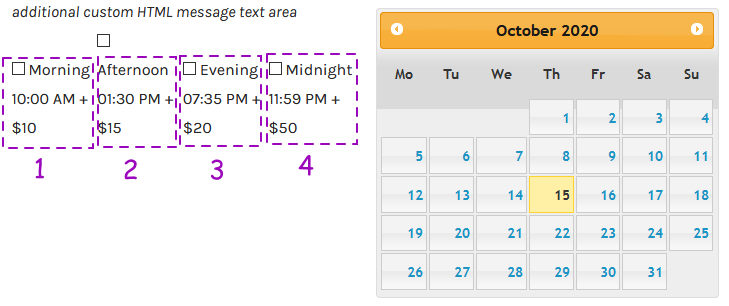
When you enable the time slot function for the Virtuemart Calendar Date plugin you will be able to create unlimited time slots. You can create default time slots so they automatically get loaded when you add the calendar date to a Virtuemart listing or you create time slots specific to the Virtuemart listing.
Each time slot will have its own value (if you want to charge an additional fee for that time slot), custom label and independent position (left or right) for the time slot.
Example: Admin Screen- Virtuemart Listing

Once an order has been placed you can also view and edit orders linked to the calendar:
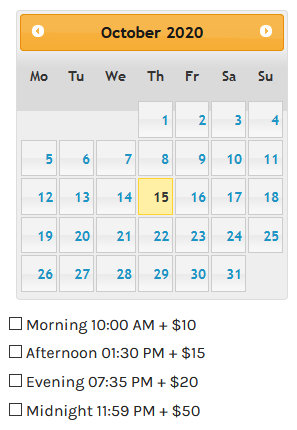
IF a buyer can choose multiple time slots then the selection point will be changed to a checkbox.
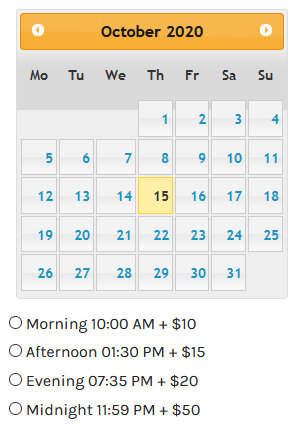
IF a buyer can only choose one time slot then the selection point will be changed to a radio point.
Please note: this Virtuemart calendar date plugin is NOT an advanced reservation component where you can set unique time slots for each day.
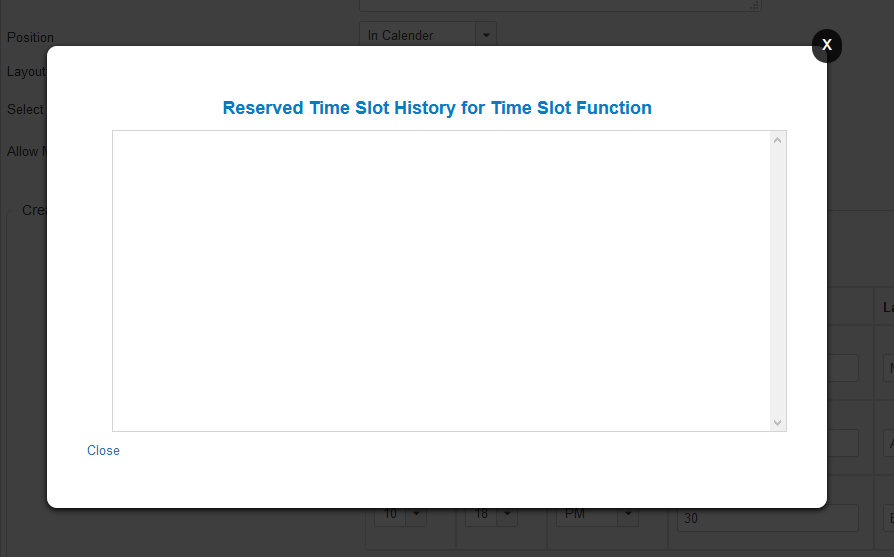
This function will help control if buyers can reserve the specific time frame more than once; similar to a reservation function. Each applied calendar date custom field, in a Virtuemart listing, has an “Edit History” link. You can use this link to view and edit the associated purchase history for the Virtuemart listing.

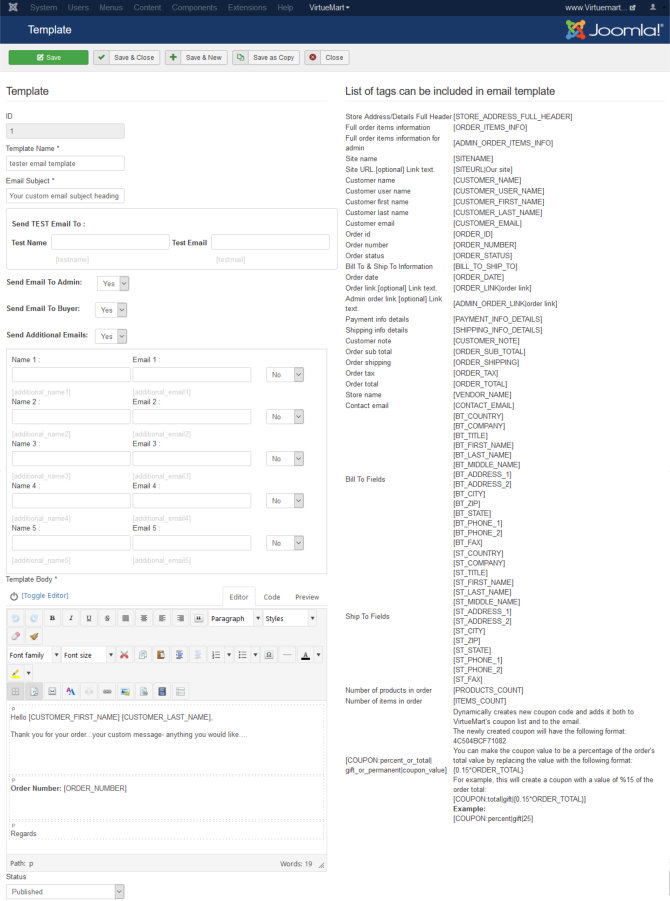
The Component is installed as a separate function and is available through the Joomla's Components Menu link; called "Email Templates".

The control panel is intuitively arranged and is very easy to navigate.
Select the ‘new’ button to create a new email template.
If you hit the green "Send Now" text button it will send a samply of the email to your specificed email address so you can make sure it looks correct before your buyers see the email.
Screenshot: email template layout
An editor text block is used to create the email message. On the right side is a handy list of Virtuemart field codes; allowing you to truly customize your email messages to buyers.
You can choose to send a customized email to the buyer based on their selected date on the frontend calendar. This choice can be customized according to your requirements on the number of days BEFORE the selected date; and what specific email template to use.
This can be set as a global configuration in the Custom Field setup or you can change the template you would like to use in the product detail when you assign the Calendar Field to the Virtuemart product/ service listing. You naturally have to first create the email template before it will show up in the template dropdown box.
Send an email AFTER the Virtuemart Order:
Based on the date the order was placed, in Virtuemart, do you want to send an email to the buyer?If Yes, how many days after:
You can choose to send a customized email to the buyer AFTER a set number of days based on the date the order was placed.Simply select the email template you would like to use. This can be set as a global configuration in the Custom Field setup or you can choose a different template in the product detail when you assign the Calendar Field to the Virtuemart product/ service listing. This way you can have 1 calendar field and change multiple options depending on the specific product listing needs.
You naturally have to first create the email template before it will show up in the template dropdown box.
